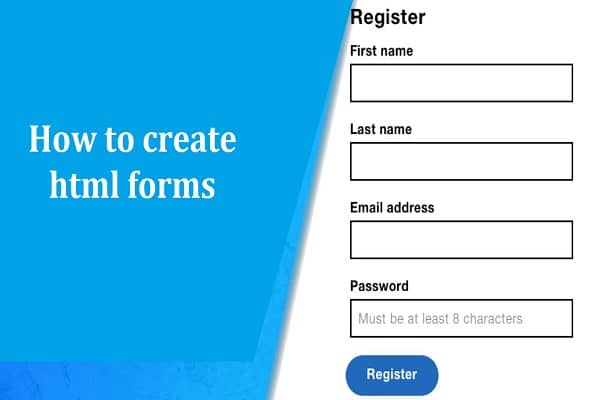
Collecting data from a web user can be done in different methods. Forms on a website have simple functions like a daily subscription or complex ones like a job application form. But the one thing these simple to complex forms have in common is HTML <form> tag.
Different elements required to create an HTML form
The input elementis the most used elements in the form and allows users to specify different user input fields which are dependent on the type attribute. The input elements can be
-
Text field
These are the one-line areas that allow the users to input data. Single line text input is created using <input> element, whose attribute has a value of the text.
Example
<form>
<label for =“username”> Username:</label>
<input type=”text” name = “username” id=”username”>
</form>
-
Password field
These are similar to text fields, but the only difference is characters in the password fields are masked and are shown as asterisks or dots (to prevent someone from reading the password). This single-line text input is also created using <input> and has an attribute as a password.
Example
<form>
<label for=”user-password”>Password:</label>
<input type=”password” name=”user-password” id=”user-password”>
</form>
-
Checkbox
To select one or more options, check boxes are used.It is also created using the <input> element, and the attribute has the checkbox value.
Example
<form>
<input type=”checkbox” name=”sport” id=”cricket”>
<label for=”cricket”>Cricket</label>
<input type=”checkbox” name=”sport” id=”football”>
<label for=”football”>Football</label>
<input type=”checkbox” name=”sport” id=”badminton”>
<label for=”badminton”>Badminton</label>
</form>
-
Radio button
Radio buttons allow users to choose exactly a single option from a pre-defined set of options. You can create it using <input> where the attribute has a value of radio.
Example
<form>
<input type=”radio” name=”qualification” id=”graduate”>
<label for=”qualification”>Qualification</label>
<input type=”radio” name=”qualification” id=”post-graduate”>
<label for=”post-graduate”>Post-Graduate</label>
</form>
-
Submit and Reset button
The submit button is used to send HTML forms to the web server. When the user clicks on the submit button, the form’s data is sent to the file mentioned in the form’s action attribute for processing the submitted data.The reset button in the HTML form controls the default values. You can Build high quality HTML forms in minutes from headlessforms.cloud.
Example
<form action=”action.php” method=”post”>
<label for=”first_name”>First_Name:</label>
<input type=”text” name=”first_name” id=”first_name”>
<input type=”submit” value=”Submit”>
<input type=”reset” value=”Reset”>
</form>
Also read: 3 Reasons Why You Should Port Over HTML To PDF Conversion Online
-
File select box
The file field in HTML form allows a user to browse a local file and use it as an attachment in the form. Browsers like Google Chrome render a file select input field with a browser button, enabling users to browse local hard drives and choose the file. Again, you need an <input> element where the attribute value is file.
<form>
<label for=”file-select”>Upload:</label>
<input type=”file” name=”upload” id=”file-select”>
</form>
-
Select boxes
The select box is a dropdown list of options that permits the user to select multiple options from the pull-down list. This feature in HTML form is created using <select> element and the <option> element.
Basically the <option> element in the <select> element define every list item.
<form>
<label for=”country”>Country:</label>
<select name=”country” id=”country”>
<option value=”germany”>Germany</option>
<option value=”france”>France</option>
<option value=”australia”>Australia</option>
</select>
</form>
Wrap Up
These are some common input elements required to make an HTML form. The elements can be used in any combination to use an attractive form.
